Cancel or Delete an Appointment
This article covers how to:
Cancel or delete an appointment
Un-cancel an appointment
Link copiedCancel or delete an appointmentLink copied
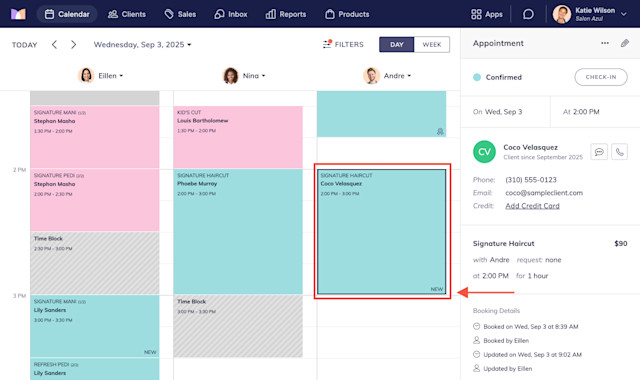
To cancel or delete an appointment, select the appointment on the calendar.
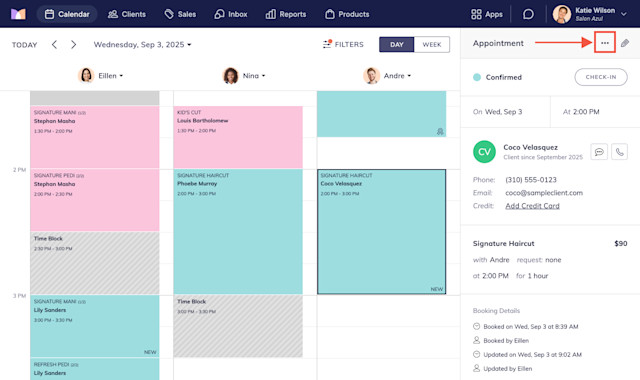
In the appointment details, select Cancel/Delete from the "..." menu.
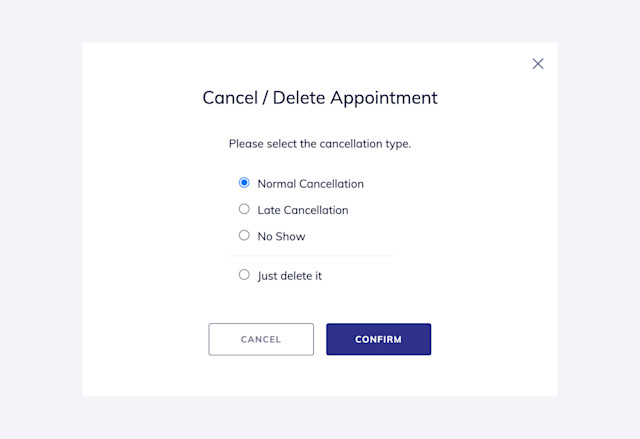
Select a cancellation type and select Confirm.
Normal Cancellation: The client canceled within the cancellation period.
Late Cancellation: The client canceled after the cancellation period.
No Show: The client did not show up for their appointment.
Just delete it: Delete the appointment.
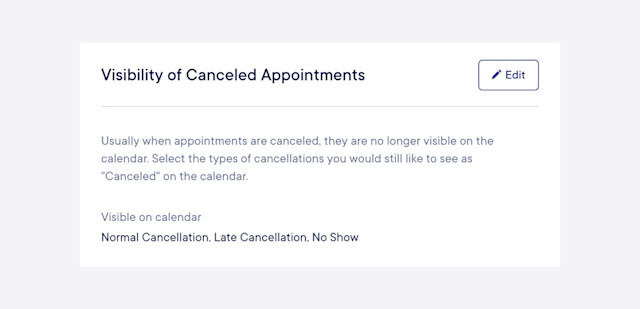
Depending on your settings, the appointment will either be removed from the calendar or appear faded on the calendar. Learn how to customize what type of canceled appointments are displayed on the calendar.
If cancellation notifications are enabled, the client will receive a notification that their appointment was canceled.
You can also use an automated flow to re-engage clients if their appointment is canceled and encourage them to rebook. The Appointment cancellation follow up pre-built flow and Appointment canceled trigger are available for you to use.
Link copiedUn-cancel an appointmentLink copied
If you canceled an appointment by selecting Normal Cancellation, Late Cancellation, or No Show, you can un-cancel the appointment if needed. If you deleted an appointment by selecting Just delete it, please contact chat support for assistance.
To un-cancel an appointment, begin by making all cancellations visible on the calendar by opening the Settings app and going to Calendar & Appointments > Display Preferences > Visibility of Canceled Appointments.
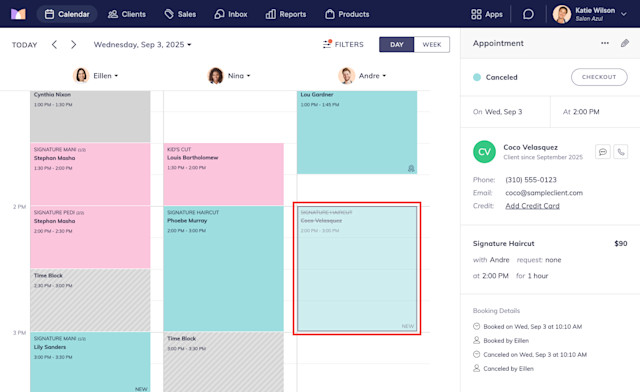
Select the canceled appointment on the calendar.
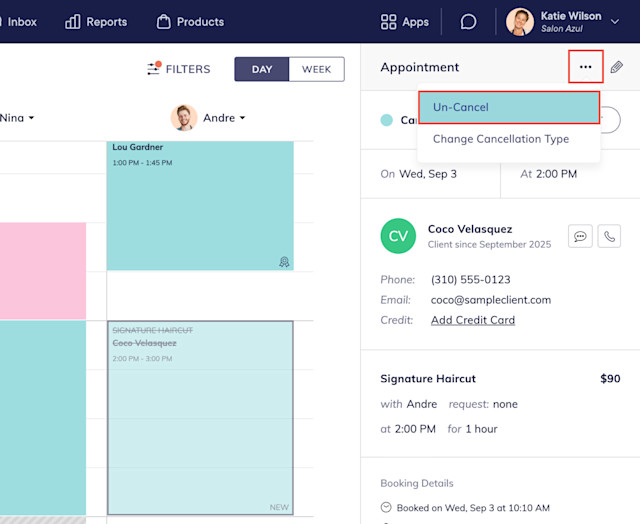
Select Un-Cancel from the "..." menu.
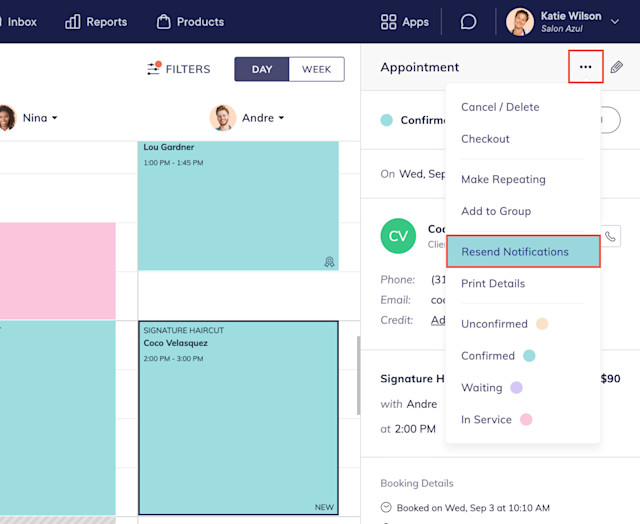
If you need to resend notifications to the client, select Resend Notifications from the "..." menu.

Can't find what you're looking for?
with us to talk to a real person and get your questions answered, or browse our on-demand videos.